Daylily Planting Information
Daylily Grower's Guide
11/02/2011
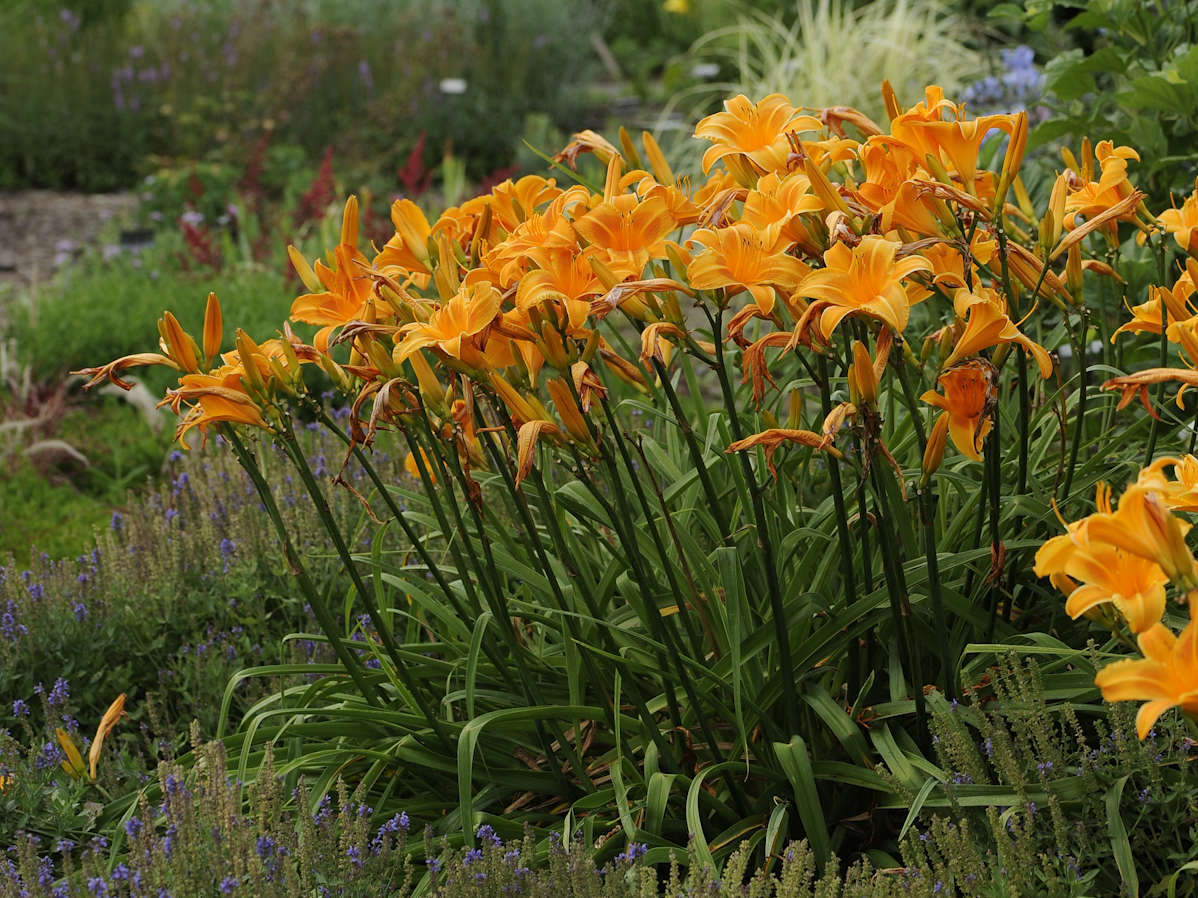
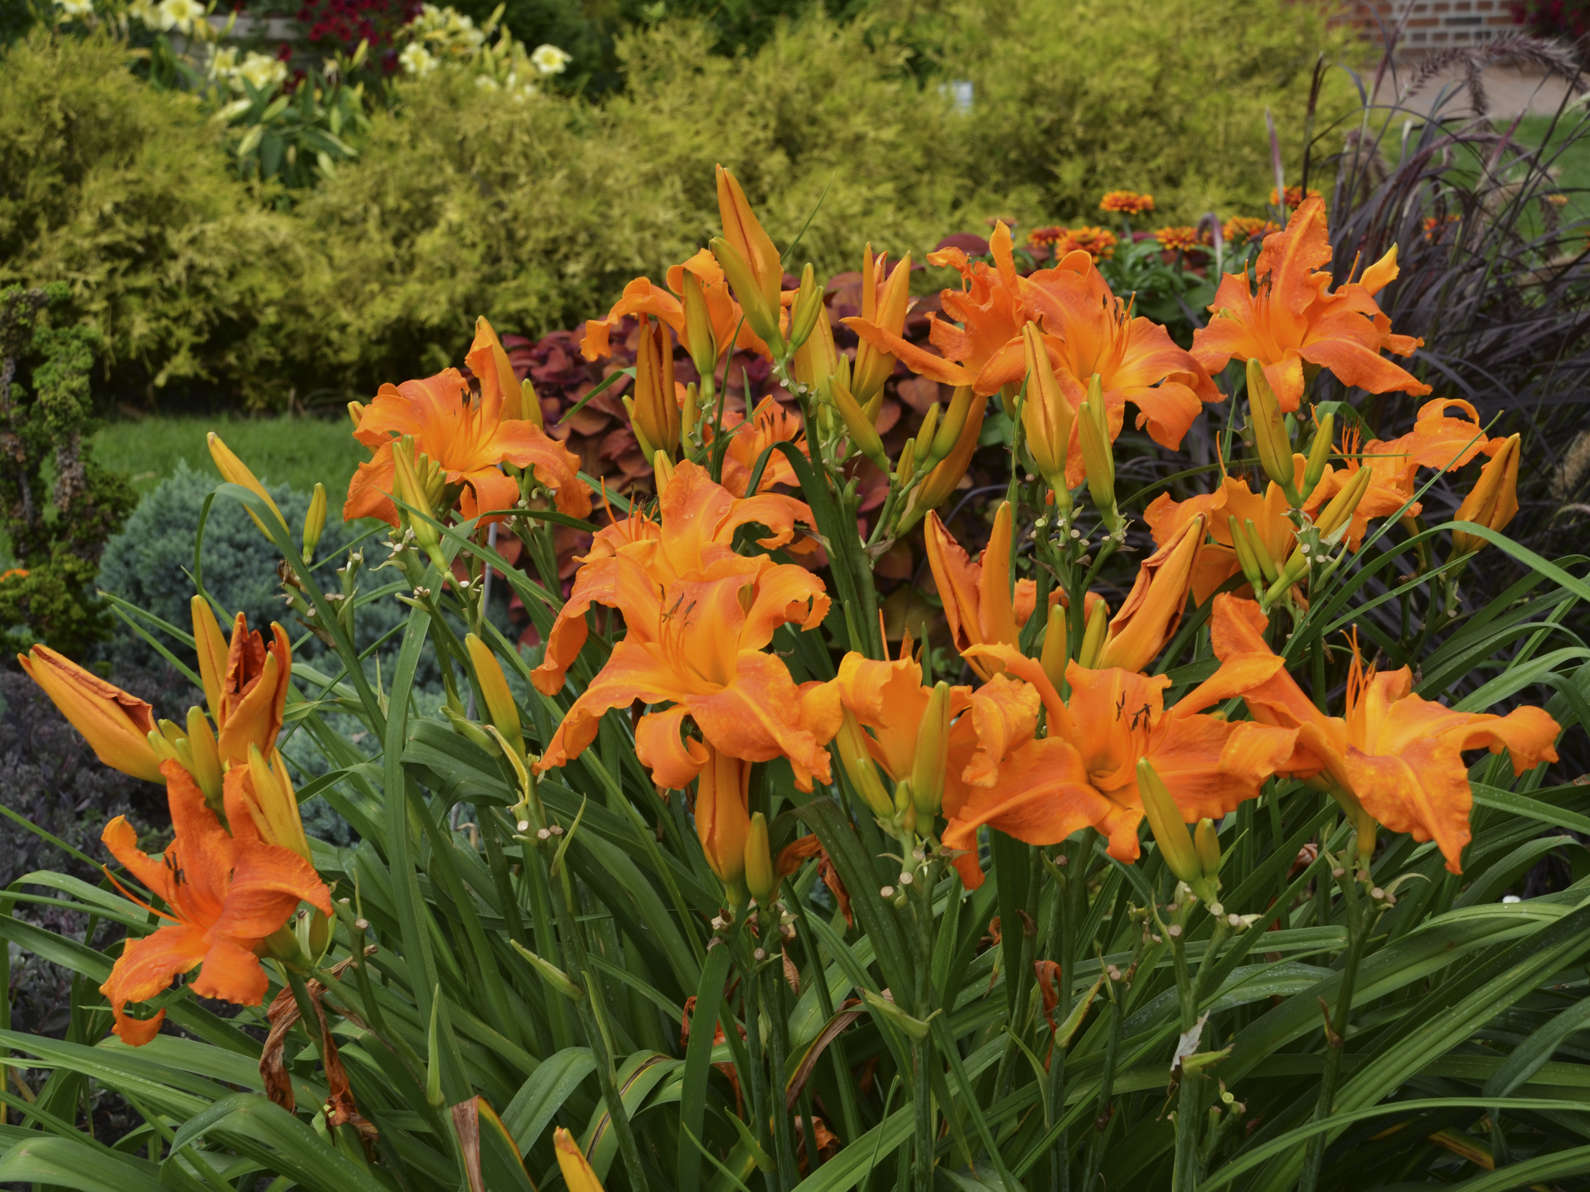
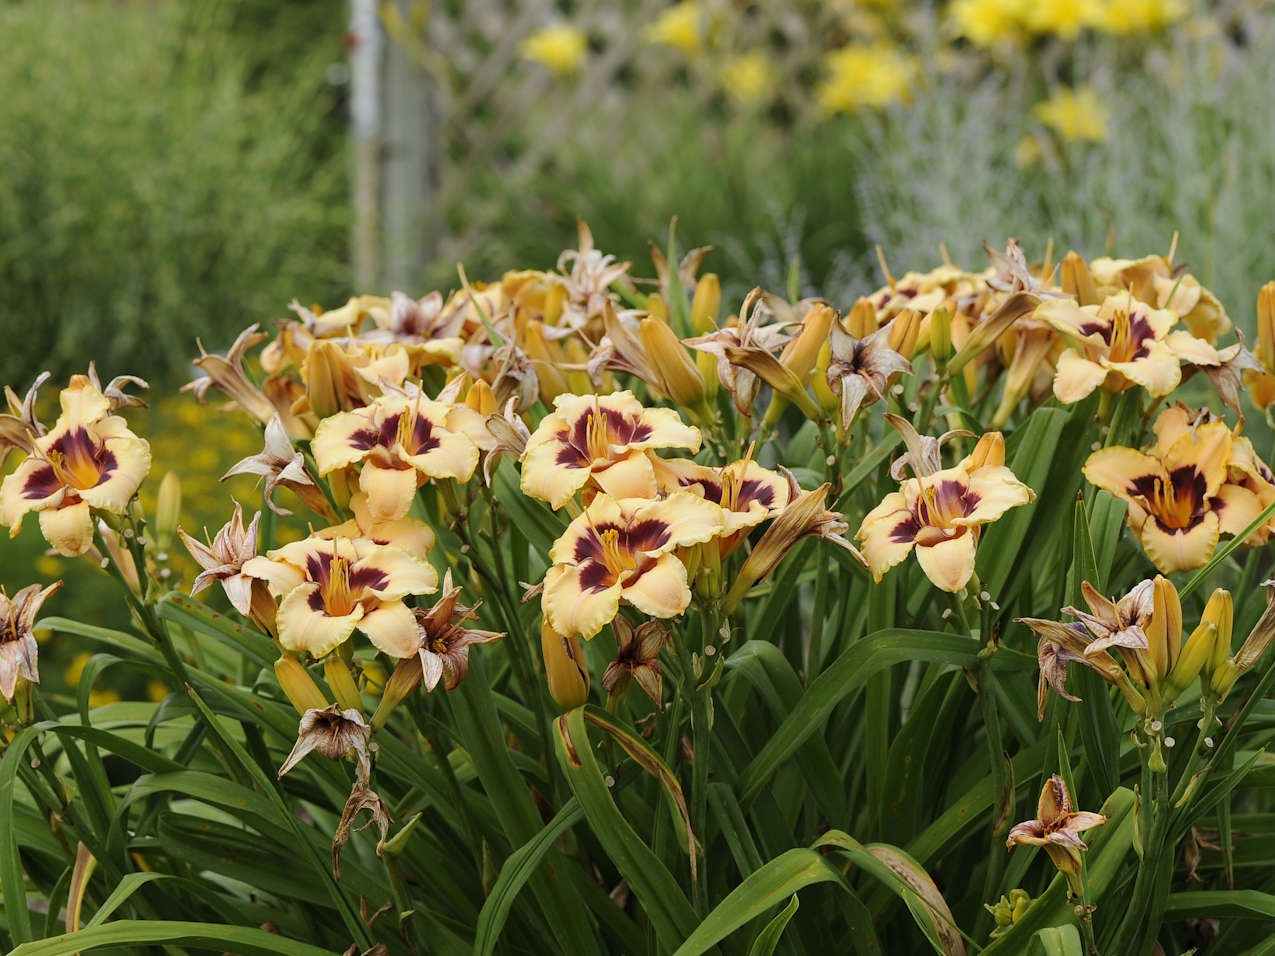
Daylilies are among the easiest to grow of all perennials. A few basic principles are useful to know to insure success in your efforts.
When Should You Plant?
Daylilies can be planted at any time during the growing season when the soil is workable. If you are planting bare root daylilies, remember that those planted in the spring will provide only moderate bloom the first summer but will bloom at full strength in subsequent years. When planted in the fall, bare root daylilies should be planted 4-6 weeks prior to a hard freeze to give the roots time to get reestablished before the soil freezes. Mulch new plantings the first winter to prevent the plants from heaving out of the soil from successive freeze/thaw cycles. The kind of daylilies you would typically purchase in a pot from a garden center can be planted any time of the growing season.
Location
Daylilies perform best when planted in a location where they will receive sun all day. If that is not possible, try to locate them in an area where they will receive at least 6-8 hours of sun. Plants will not bloom as profusely in partial shade but the foliage can add an attractive texture there. If planted in a border backed by trees, the daylilies will lean somewhat towards the sunny side of the border and the flowers will open facing the sun.
Daylilies are rather indifferent to soil type. They thrive in heavy soils with substantial clay content as well as in sandy soils. Add peat moss, compost, or humus to sandy soils to help them retain moisture. Good drainage is recommended but not essential.
Soil Preparation
Daylilies perform admirably in well-drained, fertile soils of all types. Unlike many other kinds of perennials, daylilies will even grow in quite wet, even soggy, areas (though it is not their top choice of locations). Daylilies routinely survive planting in areas that occasionally flood. You might want to experiment with them if you have a problem area like this.
Typical garden soils will benefit from the addition of organic material such as compost, peat moss, or humus. Sandy soils benefit the most from generous amounts of organic material. Thoroughly loosen the soil to a depth of 10-12 inches before planting.
Receiving Bare Root Plants
Many nurseries specializing in daylilies ship plants bare root with all of the soil removed from the plant. Early spring shipments will have little or no top foliage. Daylilies shipped later will have foliage trimmed back to about six inches above the crown. Sometimes, such foliage will appear a bit yellowish and look somewhat rough. Ignore this! Daylilies are tough plants that survive shipment dry and can remain out of the soil for a considerable time before replanting.
If you cannot plant your bare root daylilies immediately upon receipt, open the shipping carton, remove the plants from their packing material, and set them in a cool, shady area until you are ready to plant them. Just before you get ready to plant them, soak the bare roots in a pail of water containing a small amount of water soluble fertilizer for an hour or two.
How to Plant
When planting a potted perennial, including daylilies, the general rule of thumb is to dig the hole 2-3 times wider than the original pot but just as deep. So if your daylily is in a 6x6 inch pot, you'll need to dig the hole 12-18 inches wide and 6 inches deep.
A common error made in replanting container grown daylilies is not separating and spreading the root mass when the daylily is removed from its pot. Loosening up the rootball and spreading the roots apart will encourage the daylily to extend its roots from their original soil into the surrounding garden soil. Container grown perennials are typically grown in "soilless" potting mixes composed of peat moss, composted bark, and perlite. Such mixes are totally different from the garden soil into which you will be replanting your daylilies. It is important to avoid planting these container grown daylilies into your existing garden soil without preparing it first. (See Soil Preparation above.)
Planting bare root daylilies is a bit more work but worth the extra effort. Dig a hole about 12 inches deep and 12-18 inches wide. Form a mound of soil in the bottom of the hole. Position the bare root daylily on the top of the mound so that the crown will end up about one inch below the soil surface when the hole is filled in. Spread the roots out around the mounded soil. Re-fill and firm the soil up around the plant. Make sure there are no air pockets. Water well immediately after planting.
Water your newly planted daylilies about once a week unless you are in a very warm part of the country where plants generally require more frequent watering. DO NOT water every day. Newly planted daylilies need to be encouraged to send out new roots, and they will do that in search of moisture. Newly planted daylilies rarely rot, but over-watering during times of high heat can stress the plants. When in doubt, don't kill your daylilies with kindness!
Winter Protection
Daylilies that are planted in the fall should be mulched the first winter. Successive freeze/thaw cycles that are common in northern states often lead to heaving where the root ball works its way up and out of the soil. If heaving occurs, press the daylily back into the soil if possible. If the ground is too frozen to push the plant back in to the ground, add more mulch around the crown and wait for warmer weather. A daylily's crown must be below the soil line to produce new roots so you'll want to take care of that as soon as possible in the spring.
Evergreen daylilies need to be mulched every winter in the north to avoid winter damage or loss. Growing most evergreen daylilies in the north can be tricky, so you may want to stick with dormant types unless you are prepared to make the extra effort to apply an annual winter mulch.